A Simple Way to Enjoy Fresh Snow
When the snow begins to fall, there’s a sense of magic in the air. The world transforms into a winter wonderland, and the crisp air invites playful moments. For many, one of the most exciting activities during a snowy day is making snow cream . Picture yourself gathering fresh, untouched snow, bringing it inside, and mixing it with a few simple ingredients to create a creamy, delicious treat. It’s the perfect way to savor the winter season, and the best part is, it’s easy and fun for the whole family.
Snow cream recipe is a tradition cherished by many cultures, particularly in regions that experience heavy snowfall. In the United States, snow cream has been a wintertime favorite for generations. Each family and community has its own twist, whether adding vanilla, maple syrup, or other flavors. This sweet snow-based treat has even been enjoyed by children for centuries, with parents passing down the recipe as part of their winter customs.
I vividly remember making snow cream recipe as a child, eagerly waiting for the first big snowfall of the season. It was always a special treat—quick, simple, and oh-so-sweet. This recipe is ideal for beginners because it requires minimal effort, yet it delivers a flavorful, homemade dessert that feels like a true winter indulgence. Plus, it’s a low-calorie, fun treat that can be made with just a few ingredients: snow, sugar, and milk. It’s a simple way to enjoy a delicious treat without the guilt!
Table of Contents
Ingredients for Snow Cream recipe: Simple and Delicious
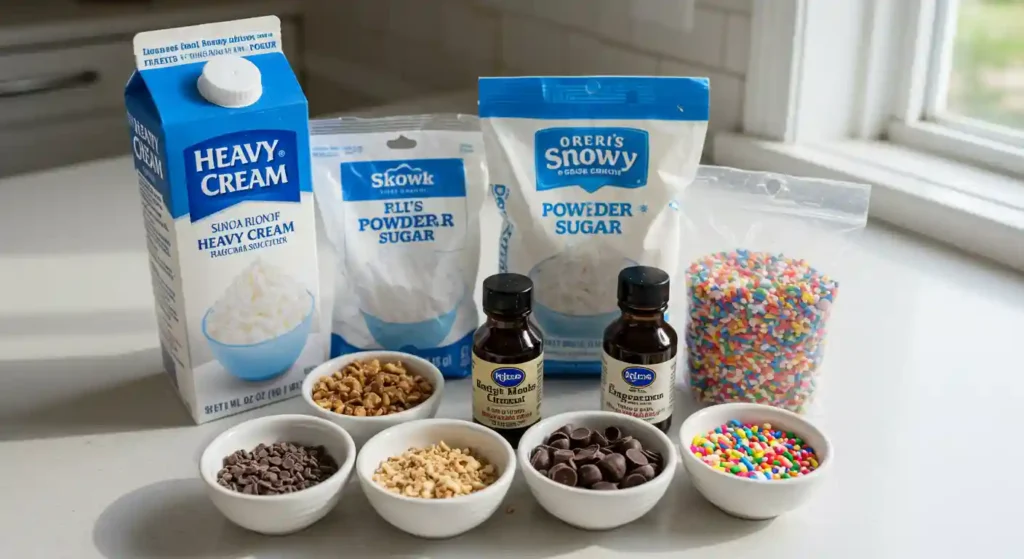
Making snow cream recipe is a breeze when you have the right ingredients. Here’s a detailed list of what you’ll need:
- Fresh, clean snow (3-4 cups): The most important ingredient! You’ll need a good amount of snow, preferably freshly fallen, to make a fluffy base for your treat. Avoid yellow or dirty snow—use only clean, fresh snow to ensure the best flavor and safety.
- Sweetened condensed milk (1 cup): This creamy, sweet milk is the classic ingredient for snow cream recipe, giving it that rich, velvety texture. If you prefer a dairy-free version, you can substitute with coconut milk or almond milk for a vegan-friendly option.
- Vanilla extract (1 teaspoon): A small amount of vanilla extract brings a lovely aromatic sweetness to your snow cream. It pairs perfectly with the creamy base and enhances the flavor of the snow.
- Sugar (optional): Add sugar according to your desired level of sweetness If you’re using sweetened condensed milk, you may not need additional sugar. If you prefer your snow cream on the sweeter side or if you’re using an unsweetened milk alternative, feel free to add sugar to taste. Start with 1-2 tablespoons and modify the amount to your taste
Alternatives for Ingredients:
- Dairy-Free Version: For a vegan twist, swap the sweetened condensed milk with coconut milk or almond milk. You can also opt for other non-dairy milk, but coconut milk offers a rich, creamy texture that mimics the sweetness of condensed milk.
- Flavor Variations: Snow cream recipe is incredibly versatile! You can add cocoa powder (about 2 tablespoons) for a chocolate snow cream variation or stir in fruit puree for a fruity twist. Strawberries, blueberries, or mangoes can add a refreshing, colorful touch to your treat.
Tips for Choosing Ingredients:
- Fresh Snow: Always choose the freshest snow possible. The cleaner the snow, the better the flavor. It’s best to gather the snow shortly after it falls, as older snow can sometimes have a stale taste or pick up debris.
- Quality Ingredients: For the best flavor, use high-quality sweetened condensed milk or make your own version of non-dairy milk. Homemade coconut milk, for example, can enhance the overall richness and creaminess of the snow cream recipe.
Instruction : How to Make Snow Cream recipe: Step-by-Step Instructions
Making snow cream is a simple and fun process that brings out the best of winter’s bounty. Whether you’re looking for a nostalgic treat or something new to try on your snowy day, this recipe is easy and delicious. Here’s a step-by-step guide to creating your own snowy masterpiece.
Step 1: Collect the Snow
The first and most important step is gathering fresh, clean snow. You’ll need about 3 to 4 cups of snow to make a good batch of snow cream. When collecting the snow, be sure to pick it up from an area free of contamination—avoid any snow that’s close to roads, walkways, or areas with animals. Fresh snow that has fallen recently is best, as it will give your snow cream the fluffiness it needs. Scoop it up gently into a clean bowl or container, making sure the snow is as fluffy as possible to help achieve a light, creamy texture.
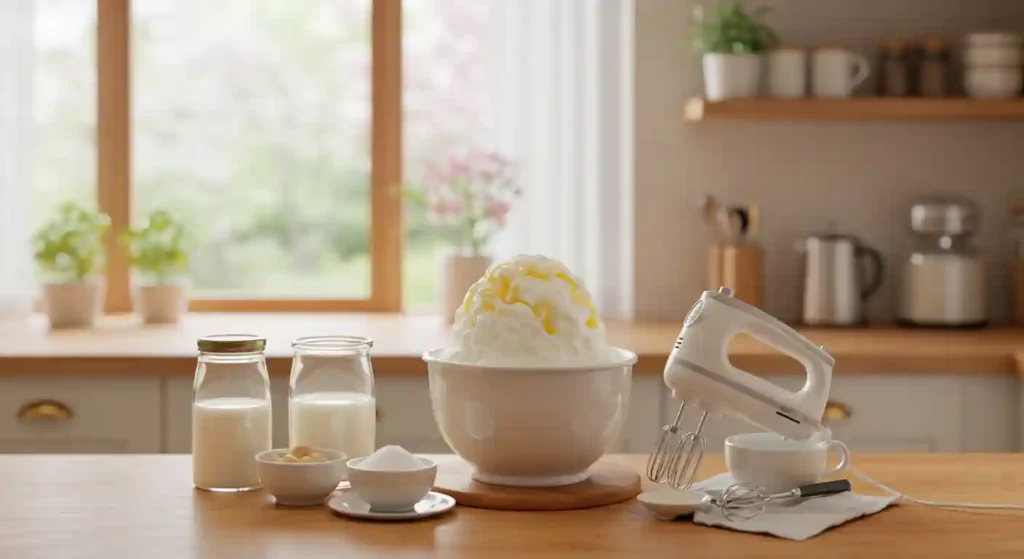
Step 2: Prepare the Snow Base
Next, you’ll prepare the creamy milk mixture that will bring your snow cream together. In a large mixing bowl, pour in 1 cup of sweetened condensed milk (or your choice of non-dairy milk like coconut or almond milk for a vegan version). Add 1 teaspoon of vanilla extract for flavor. If you like your snow cream on the sweeter side, this is also the time to add sugar to taste. Start with a tablespoon of sugar, stir, and then taste the mixture. You can always add more if you prefer a sweeter treat. Stir everything together until the mixture is well combined and smooth.
Step 3: Combine the Snow and Milk Mixture
Now, the fun part begins! Slowly add the fresh snow into the milk mixture a little at a time. It’s important to add the snow gradually so you can control the texture. As you add the snow, gently stir it in after each addition. Be careful not to stir too vigorously, as this could cause the snow to melt and result in a runny consistency. Aim to maintain a balance of fluffy snow and creamy milk for the perfect texture. If you find the snow cream is too runny, you can always add a bit more snow to thicken it up.
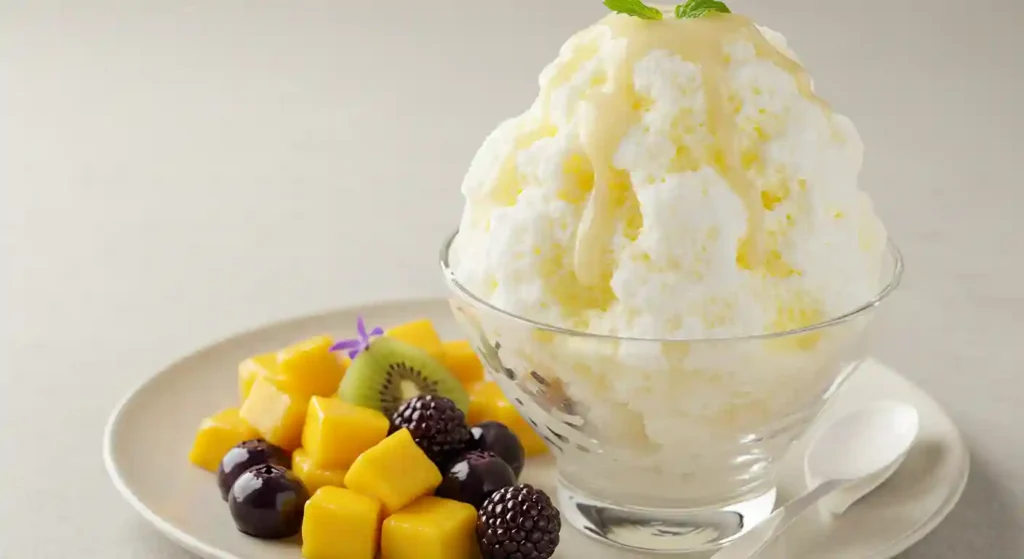
Step 4: Mix Until Smooth
Once all the snow has been added, gently mix until the snow cream reaches a fluffy, creamy consistency. TThe mixture should be thick enough to maintain its shape without becoming too rigid. The goal is to create a texture that resembles soft-serve ice cream, light and airy but firm enough to scoop easily. Take your time during this step to ensure that the snow is fully incorporated and that there are no large clumps of snow remaining. If you prefer a firmer snow cream recipe , you can place it in the freezer for 5-10 minutes to set it further before serving.
Tips & Variations for Your Perfect Snow Cream
Snow cream recipe is wonderfully versatile, allowing you to customize it with various ingredients to suit your preferences or dietary needs. Here are some tips and flavor variations to make your snow cream even more exciting.
Diet Modifications:
- Vegan Version: If you’re looking to make snow cream vegan or dairy-free, the recipe can easily be adapted. Simply replace the sweetened condensed milk with coconut cream or a plant-based milk like almond, oat, or soy milk. To keep the creamy texture, you can also use a plant-based sweetener like maple syrup or agave nectar. Coconut cream will add a rich, velvety consistency that’s perfect for snow cream while keeping it dairy-free.
Flavor Ideas:
- Chocolate Snow Cream: If you love chocolate, you can easily create a chocolate snow cream by adding 1 teaspoon of cocoa powder to the milk mixture. For an even richer flavor, melt a small amount of chocolate and stir it in for a truly indulgent treat.
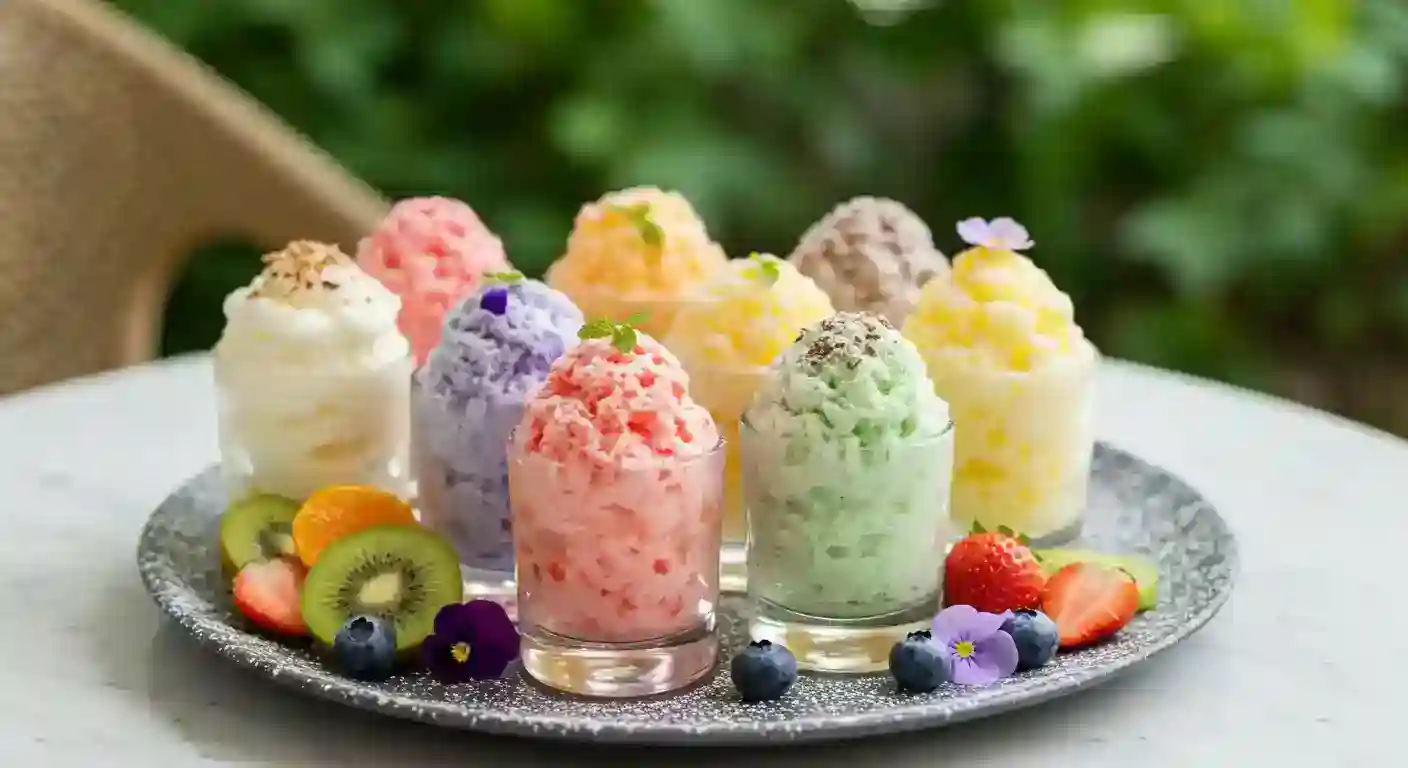
- Fruity Snow Cream: Give your snow cream a refreshing twist by incorporating fresh fruit purees like strawberry, blueberry, or mango. A few tablespoons of fruit puree will add vibrant color and flavor, making it a great option for a lighter, fruity dessert.
- Decadent Toppings: For an extra indulgent touch, top your snow cream with whipped cream, a drizzle of chocolate syrup, or crushed nuts like almonds or hazelnuts. These add texture and richness to the light, fluffy snow cream for a more luxurious dessert.
Serving Suggestions for Your Snow Cream recipe :
- Cozy Pairings: Snow cream is perfect when paired with something warm. Serve it alongside a plate of cookies or a slice of warm cake for a comforting, cozy dessert experience. The contrast between the cold snow cream and warm baked goods is a delightful treat.
- Flavor Garnishes: For an added flavor boost, try garnishing your snow cream with a sprinkle of cinnamon or nutmeg. These warm spices add a festive touch, making it even more suitable for holiday celebrations or winter gatherings.
With these modifications and creative flavor ideas, your snow cream will always be a fun, customizable treat that everyone can enjoy.
Nutritional Information for Snow Cream recipe
Snow cream is a fun and indulgent treat, but it’s important to be mindful of its nutritional content, especially when you’re customizing it with different ingredients. Here’s a breakdown of the nutritional information based on a standard recipe:
- Calories: Snow cream typically contains around 150-200 calories per serving. The exact number will depend on the type of milk and sweetener used. Using sweetened condensed milk will add more calories, while opting for a lighter milk alternative like almond or coconut milk will reduce the calorie count.
- Fat: The fat content of snow cream recipe varies based on the milk choice. Traditional sweetened condensed milk contains about 8-12g of fat per serving, primarily from dairy. If you choose coconut milk, which is high in healthy fats, you’ll see a similar fat content, but with more beneficial medium-chain triglycerides (MCTs). Using almond milk will generally result in lower fat content.
- Protein: Snow cream is low in protein, with the only significant contribution coming from the dairy or dairy alternatives used. You can expect minimal protein in snow cream, generally under 2g per serving, depending on the milk used.
- Carbohydrates: Snow cream typically contains 20-30g of carbs per serving, primarily from the sugar and milk ingredients. The exact carbohydrate count can be reduced by using less sugar or a sugar substitute.
Health Benefits of Snow Cream recipe
Snow cream recipe can be a relatively low-calorie dessert, especially when you adjust the amount of sweetener. The use of coconut milk or almond milk adds healthy fats while keeping the carb count lower than traditional dairy options. It’s a lighter alternative to many other desserts, and you can easily control the sugar content by adjusting the sweetness to your taste. By using non-dairy alternatives, it can also be a good option for those who are lactose intolerant or following a vegan diet.
Common Mistakes & Fixes
Making snow cream is an easy and fun process, but there are a few common mistakes that can affect the final result. Here’s how to avoid them:
Mistake 1: Snow cream recipe turns out too watery.
- Fix: This happens when too much liquid is added to the snow, or the snow itself is too wet. To avoid this, make sure you’re using dry, clean snow and add the liquid gradually. Add the snow little by little to the milk mixture, stirring gently after each addition, until you achieve the desired consistency. If your snow cream is too runny, add more snow to thicken it up.
Mistake 2: The flavor is too bland.
- Fix: Snow cream can sometimes taste a bit flat if the right balance of sweetness isn’t achieved. Add more sweetened condensed milk or a splash of vanilla extract to enhance the flavor. If you’re using a dairy-free milk, you may need to compensate with a bit more sweetener. Taste the mixture as you go and adjust the sweetness until it suits your preference.
Mistake 3: The snow cream becomes too icy or hard.
- Fix: Over-mixing can cause the snow to break down into ice crystals, which can lead to a grainy, hard texture. Stir gently and avoid vigorous mixing. If you find that your snow cream is too icy, it’s likely due to melting snow being incorporated too quickly. Keeping the snow cream in the freezer for a few minutes after mixing can help maintain its fluffy consistency without freezing into a hard mass.
By keeping these tips and fixes in mind, you can make sure your snow cream turns out perfectly every time!
FAQs: Everything You Need to Know About Snow Cream recipe

1. How can I store snow cream?
Snow cream is best enjoyed fresh, as the texture is light and fluffy right after it’s made. However, if you need to store leftovers, place the snow cream in an airtight container and store it in the freezer. Keep in mind that the snow cream may become more icy and less creamy after freezing. The snow will likely compact, so the texture won’t be as fluffy as when it’s first made. When you’re ready to eat it, let it thaw for a few minutes, and stir gently to restore some of the creaminess.
2. Can I make snow cream in advance?
Snow cream recipe is a quick treat, so it’s best made fresh to enjoy its light texture. However, if you’d like to prepare ahead, you can make the milk and flavoring mixture in advance and store it in the fridge until you’re ready to add the snow. Simply add the fresh snow right before serving to maintain the desired texture. If you’ve already combined the milk mixture with the snow, it’s not advisable to store it long-term, as it will lose its fluffiness and may become icy.
3. What are the best add-ins for snow cream recipe ?
Snow cream is highly customizable, and you can add a variety of ingredients to elevate the flavor. Here are a few great options:
- Chocolate chips or melted chocolate for a rich, indulgent treat.
- Fresh fruit, such as strawberries, blueberries, or mango, for a fruity twist.
- Flavored extracts, like almond, peppermint, or coconut, to give your snow cream a unique flavor profile.
- Crushed nuts, like almonds or hazelnuts, to add a little crunch and richness.
- Sprinkles or shredded coconut for a fun, festive touch.
Feel free to get creative with your add-ins to make your snow cream uniquely yours!
Conclusion & Call to Action
Making snow cream recipe is an easy and fun way to celebrate the magic of snowy days. It’s a treat that brings out the childlike joy in all of us—whether you’re gathering snow with kids, making memories, or simply enjoying a light dessert after a cold winter day. With its simple ingredients and endless customization options, snow cream is the perfect recipe to enjoy on any snowy afternoon.
We’d love to hear about your snow cream adventures! Share your photos, creative variations, or any tips you’ve discovered along the way. Have you tried adding a unique flavor or topping? Comment below and let us know how your snow cream turned out!
If you’re looking for more fun, winter-inspired recipes, be sure to check out some of our other simple desserts and cozy treats on the blog. Whether it’s a warm drink to go with your snow cream recipe or another easy recipe to enjoy with family, we’ve got plenty of ideas to keep you cooking throughout the season. Explore more and keep the winter fun going!